Betonamit®
Safe, Efficient and Explosion-Free Targeted Demolition
This step-by-step guide takes you through the simple process, ensuring controlled, vibration-free results. Whether you’re a professional contractor or a DIY enthusiast, BETONAMIT® makes demolition tasks straightforward, reliable, and environmentally friendly.
Instructions for Use
Drill, mix, fill and be amazed!
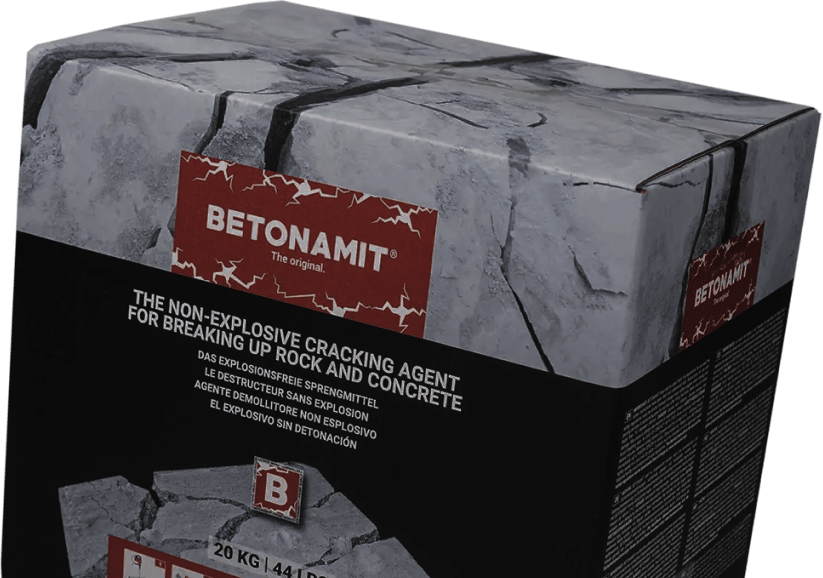
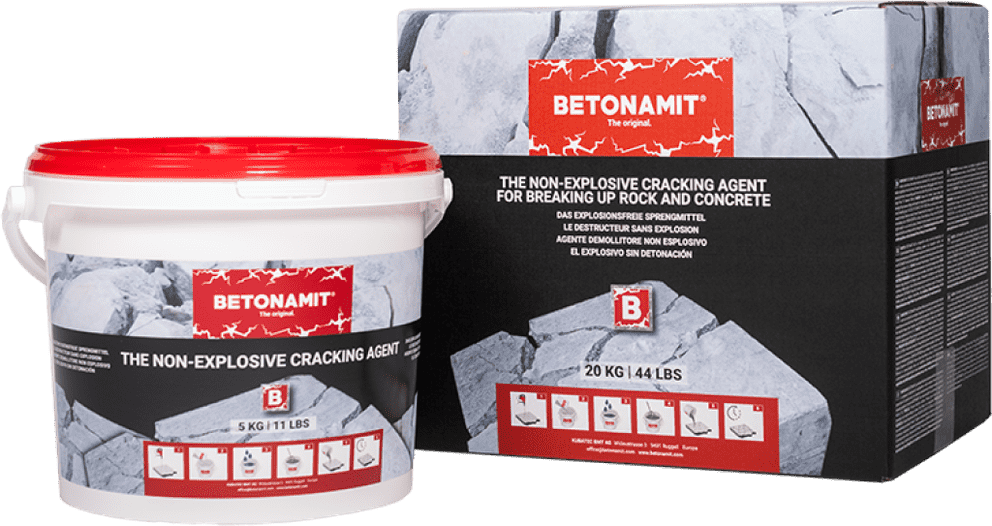
With Betonamit, ANYONE can crush rock, stone or concrete in just 4 steps. Mix Betonamit powder with water and fill into the previously drilled holes. The material sets and begins to expand. Betonamit develops an expansion pressure of over 10,000 tons per square metre for cold blasting.
4 Simple Steps to Silent Demolition
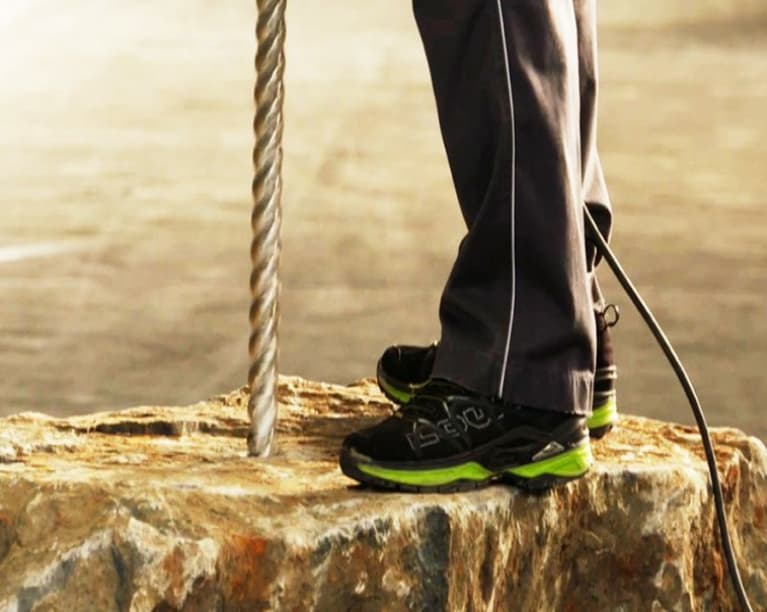
1. Drill
Start by drilling holes into the material you wish to break. Use a drill with a diameter of 30-40mm, ensuring the spacing & depth of the holes match the project’s requirements.
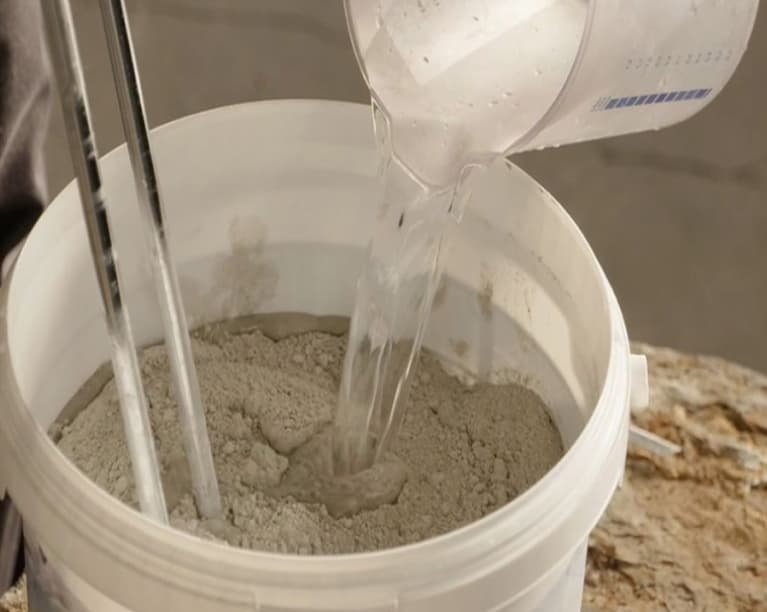
2. Mix
Combine BETONAMIT® with water and use an electric mixer to ensure a smooth, lump-free mixture, typically taking 2-3 minutes.
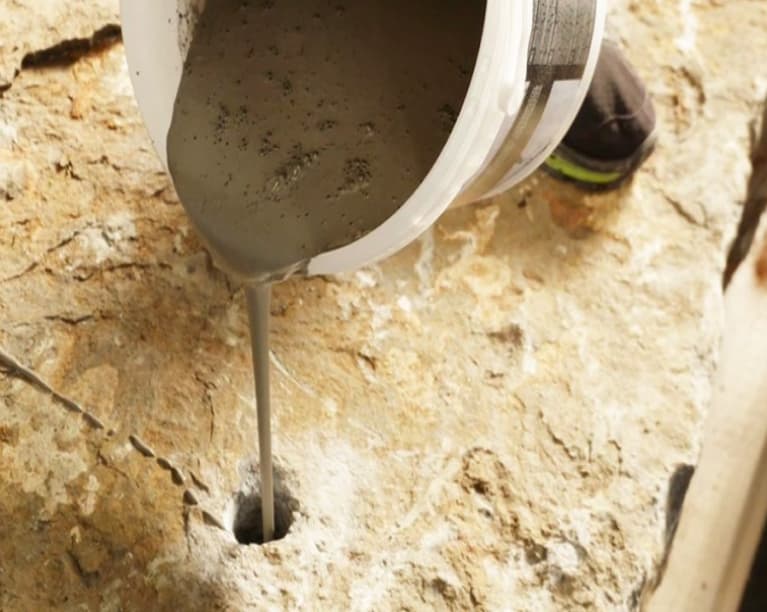
3. Fill
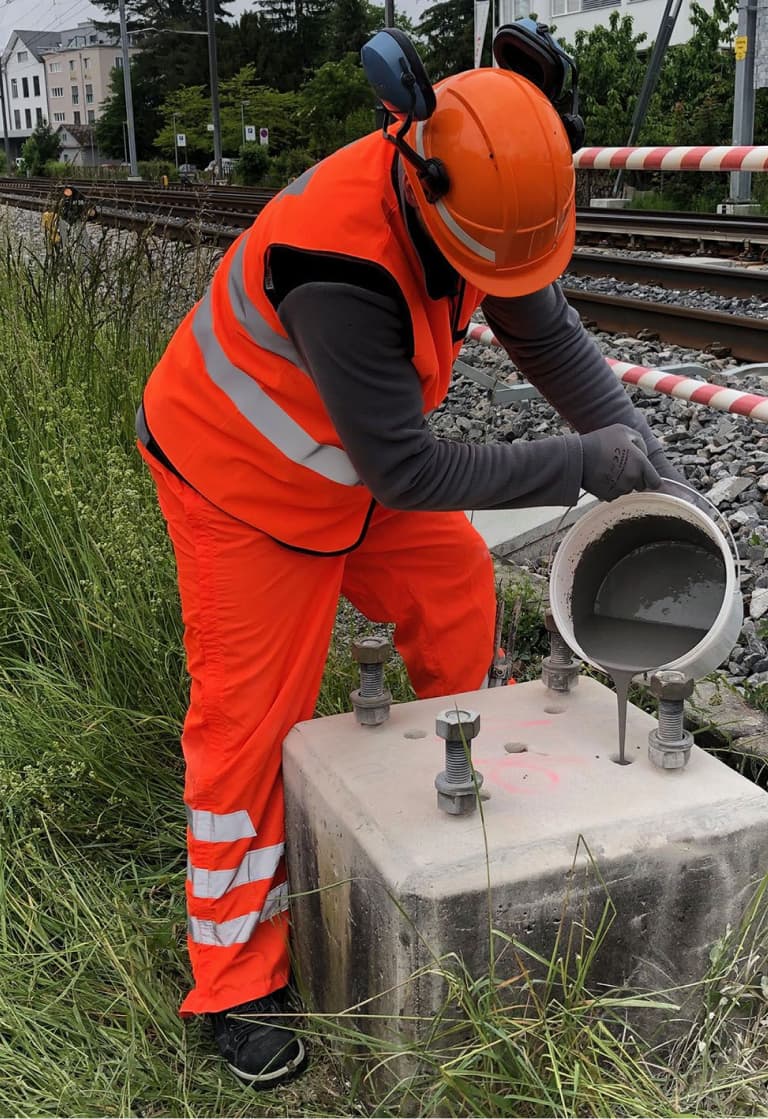
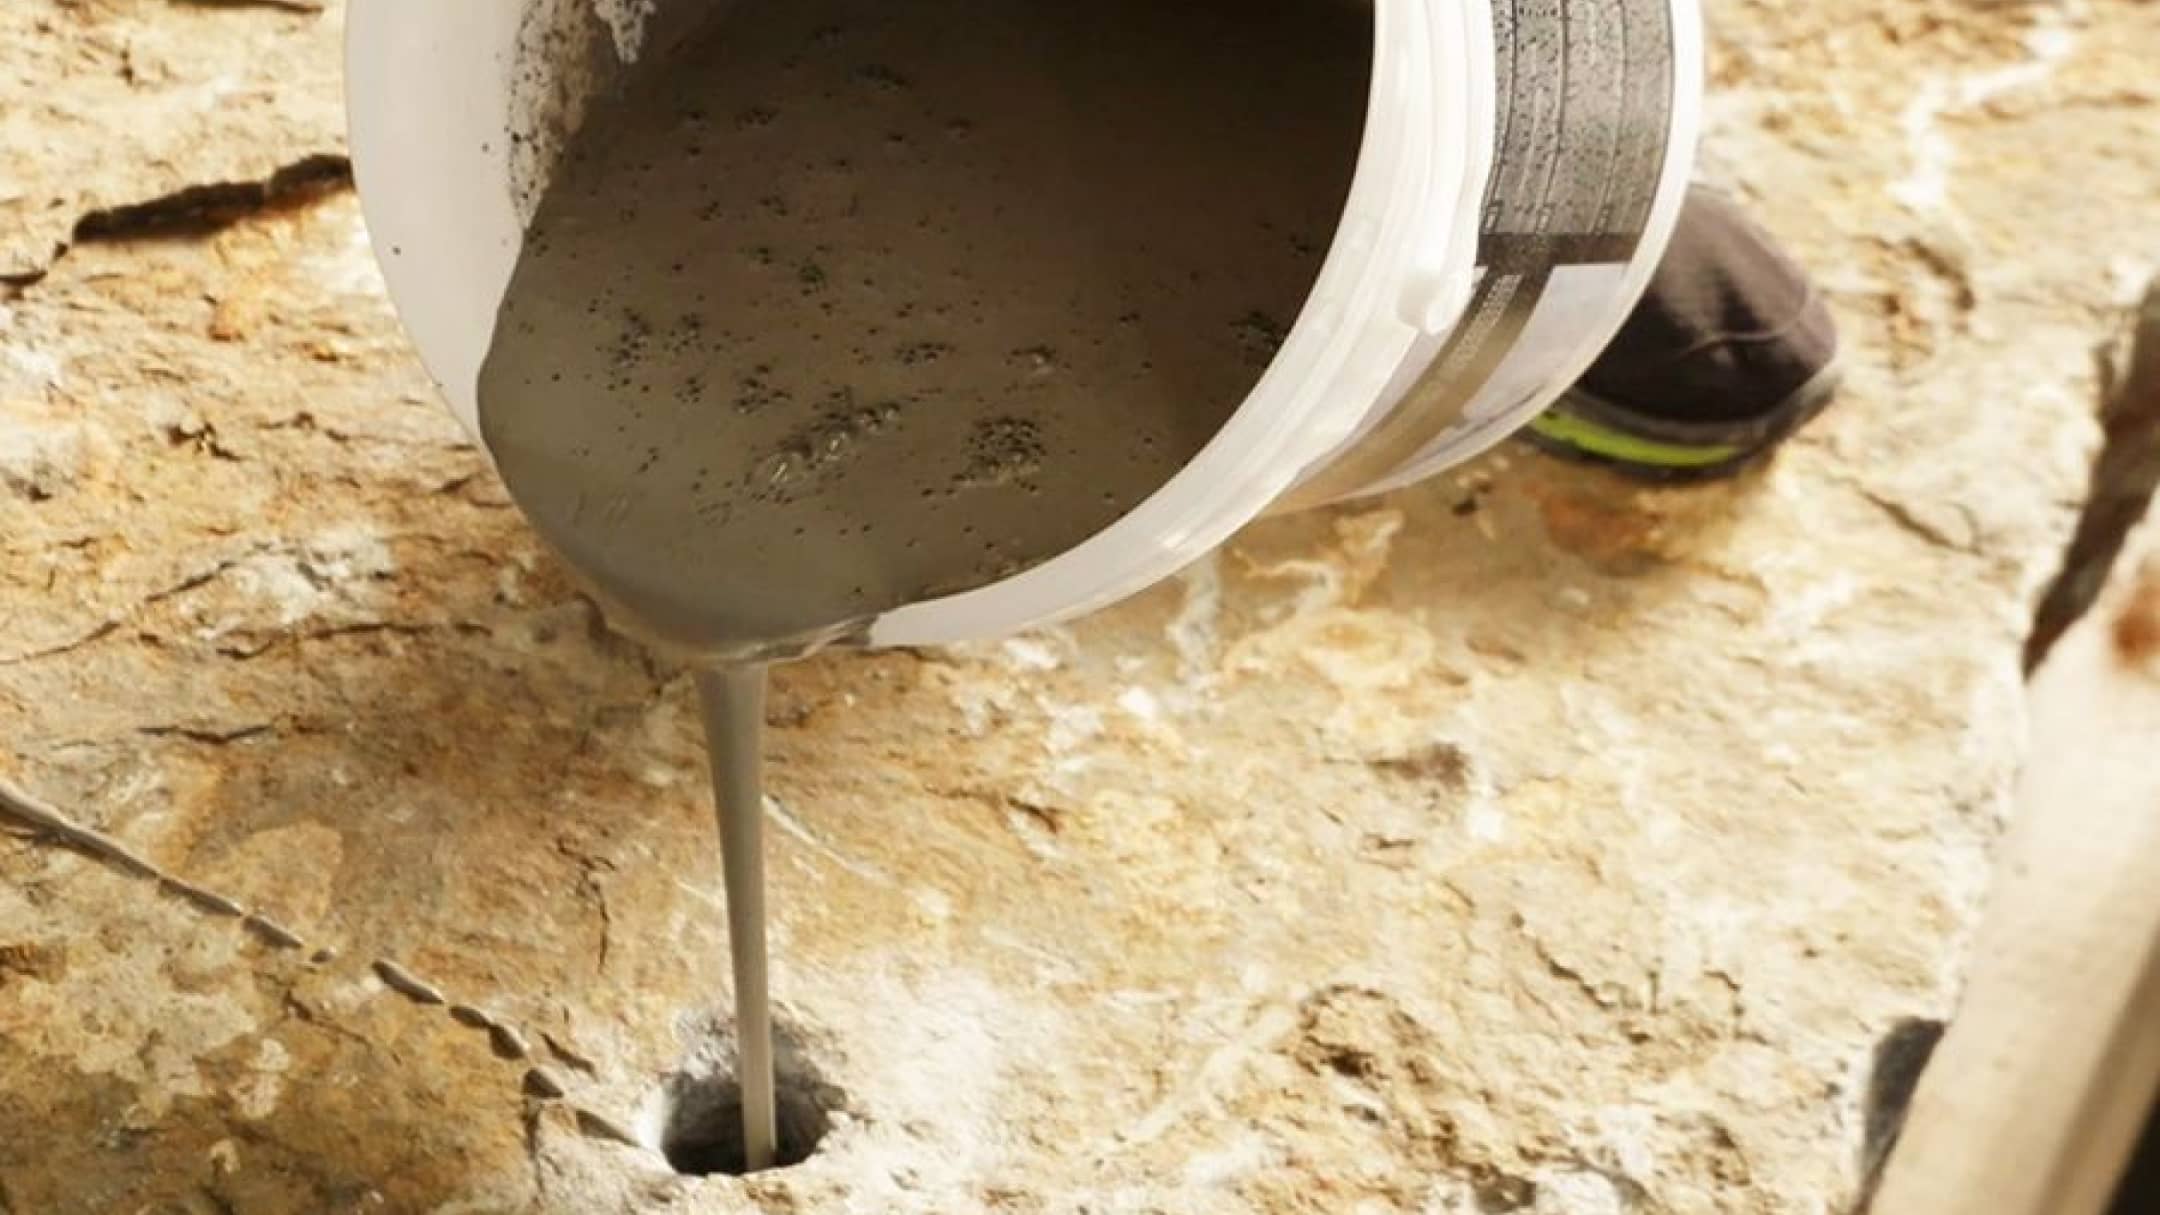
Pour the mixed BETONAMIT® into clean, dry drill holes immediately after preparation. Ensure the holes are filled completely for optimal performance.
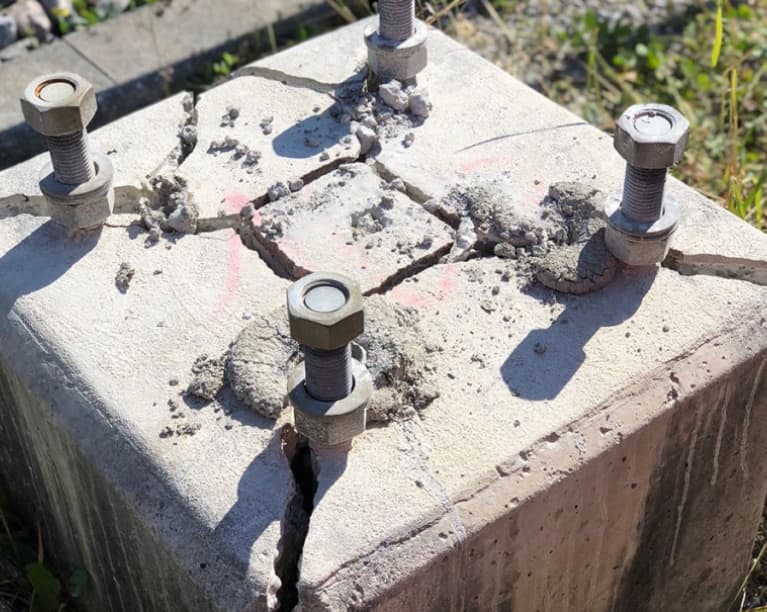
4. Wait
Leave BETONAMIT® for 24 hours or more and watch the product do its magic as it generates expansive pressure, safely and effectively breaking the material.
Tip: BETONAMIT continues to expand over several days. This means that the more time you give the product, the easier it is to remove the fragments. Therefore, be patient and allow BETONAMIT to work for as long as possible to achieve the best result.
Please Observe Our Safety Regulations When Handling Betonamit®
View Safety RegulationsWorking with Betonamit® is that simple
Drilling | Mixing | Filling | Waiting
Betonamit® Does the Rest
View Safety RegulationsPositioning the Drill Holes
Principle
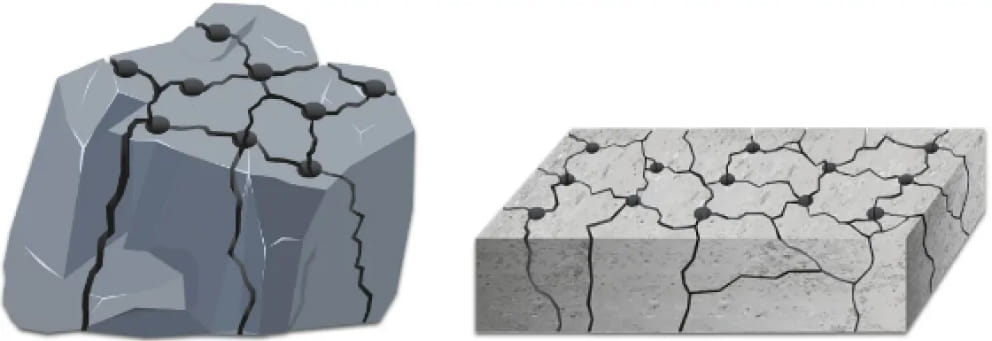
Cracking always occurs in the direction of least resistance. A larger drill hole diameter means more force, shorter reaction time and wider crack formation. Smaller distances between the drill holes mean smaller fragments and a shorter reaction time.
Shredding
The holes are usually drilled in staggered rows in order to obtain the smallest possible fragments. The more drill holes, the smaller the fragments. The cracks form in a criss-cross pattern. Here too, larger boreholes generate a significantly higher expansion pressure, which leads to a better blasting result.
Release
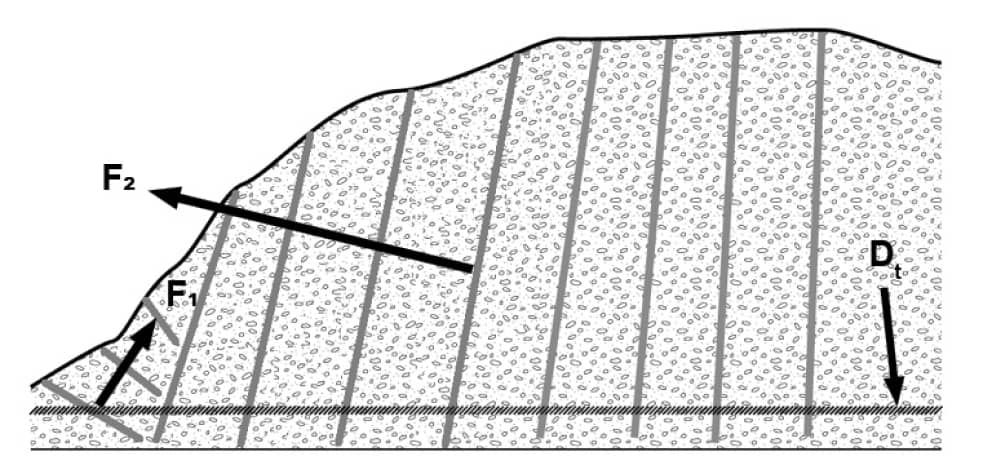
To loosen rock, the holes are drilled in several rows 10-15 cm (2″- 6″) below the required ground level (Dt) and backfilled. This breaks up and loosens the subsoil so that it can then be removed by excavator or, in some cases, by hand. Here too, the swelling explosive works most effectively when the holes are drilled at an angle so that part of the force (F) can act upwards. Several rows of holes can be filled with BETONAMIT® at the same time. Cracks will appear in the front row first. The next row is then pressed in.
Columns
The holes are drilled a short distance apart in a line. Cracking occurs from hole to hole. In this way, objects can be separated or split relatively precisely during blasting work. The drill hole depth should be at least ¾ of the total depth to ensure complete tear-through and prevent lateral break-out. Smaller stones or concrete elements can usually be split with a central drill hole.

Ablation
If there is no free side to displace the material, space must first be created. The target level (Dt) is usually over-drilled by 5-15 cm (2″- 6″) to avoid subsequent caulking work as far as possible. The expansion pressure (F) always develops 90° to the borehole. With angled holes, it is therefore possible to create a free side where the pressure or material can escape, even in unfavorable situations. Ideally, all holes should be drilled first and filled at the same time so that they can work together.

Allow Betonamit® to Take Effect for as Long as POssible, to Achieve the best results.
Material Consumption
The consumption per meter of borehole to be filled depends on the borehole diameter. To calculate the required amount of Betonamit, the sum of all boreholes in meters or feet is multiplied by the respective factor.
Examples
You have 10 drill holes (ø 40mm) with a depth of 0.3 meters
Factor for ø 40 mm: 2.2 kg (table)
10 holes x 0.3 m x 2.2 kg = 6.6 kg Betonamit
You have 10 holes (ø 1 1/2″) with a depth of 5 feet
Factor for ø 1 1/2″: 1.34 lb (table)
10 holes x 5 feet x 1.34 lb = 67 lb Betonamit
Technical Specifications & Reaction Time
The following table shows the expected reaction time as a function of temperature. You will also find further helpful information on the application here. As the drill hole diameter has an enormous effect on the expansion force and reaction time, we recommend selecting the largest possible drill bit wherever possible.

Safety Regulations
- Wear safety goggles at all times when working with Betonamit.
- Only use Betonamit at an object temperature between 5°C and max. 35°C. (40-95°F)
- Protect the Betonamit powder from heat before use.
- Do not use hot water. (max. 20°C / 68°F)
- Observe the correct amount of water: 1.2 liters (40oz) per 5kg/11lb Betonamit / 0.6 liters (20oz) per 2.5kg(5.5lb) Betonamit
- Mix by machine (electric agitator) and not by hand. (Poor mixture increases the risk of blow-out)
- Only use drill bits with a diameter of 25-45 mm. (1″ – 1 3/4″)
- The minimum borehole depth corresponds to 5 times the borehole diameter.
- The maximum borehole depth depends on the situation, but is approx. 6 meters. (20ft.)
- The drill holes must be as clean and dry as possible.
- On hot days, fill the boreholes early in the morning.
- Pour the Betonamit into the drill holes immediately after mixing.
- Make sure that the expansion force cannot cause any unwanted damage.
- Dilute material residues with plenty of water and dispose of them in accordance with local regulations. (building rubble)
- Never look directly into the filled drill holes (risk of blow-out)
- Cordon off the workplace to prevent unauthorized access. (blow-out or loosening material)
- Do not pour the mixture into bottles or other closed containers. (explosive effect)
- Please also observe the hazard and safety instructions on the packaging. (GHS)
CAUTION: Failure to comply with the regulations, improper handling or excessively warm conditions may result in a blow-out. A blow-out is the sudden, explosive escape of concrete ammite from the borehole. If you are hit in the face by the material escaping at high pressure, this can lead to injuries and serious eye damage. Therefore, never look directly into the filled drill holes and always wear safety goggles when working with Betonamit. After a first blow-out has occurred, this is repeated about 3-6 times and can also occur in other boreholes. Close the work area to all persons for at least 3 hours.
Betonamite is non-toxic, but contains a large proportion of unslaked lime (calcium oxide).
- In case of contact with eyes: Rinse cautiously with water for several minutes. Remove any contact lenses if possible. Continue rinsing.
- In case of contact with skin: In case of allergic reactions, wash with soap and water and consult a doctor.
